
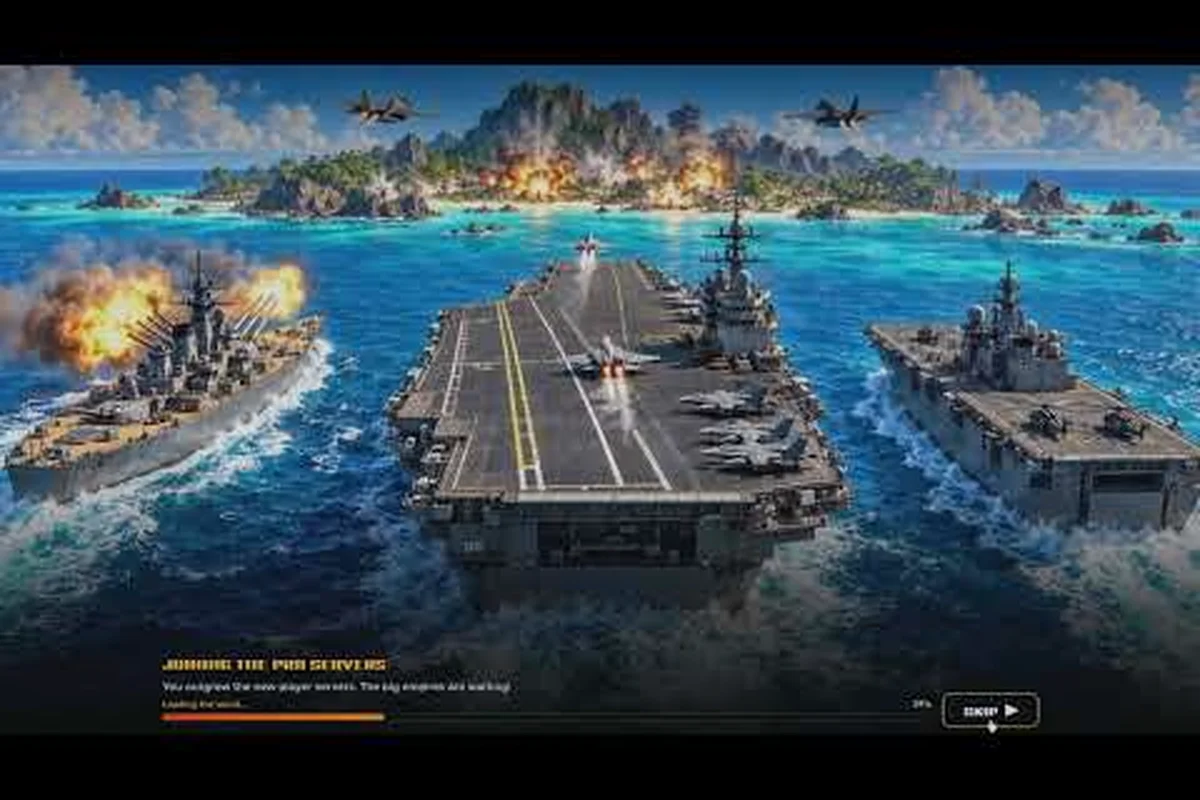
Warships are the most misunderstood weapon in World of Nukes, and learning how to command warships properly turns a slow, exposed target into a mobile strike platform that punishes anyone building near the coast. This guide breaks down positioning, strike timing, and fleet coordination so your navy actually earns its cost.
For the most current information on ship controls and command mechanics, refer to the official World of Nukes Roblox game page.
Why Commanding Warships Changes Your Whole Offensive
Most players treat the naval branch as an afterthought and dump their budget into missiles instead. That works until they meet an island whose defenses sit behind a cliff wall, where a ground-launched missile gets intercepted long before it lands. A warship solves that problem because it repositions your launch platform instead of forcing you to upgrade range.
The official World of Nukes page on Roblox lists warships alongside jets and missiles as one of the three core offensive systems, which tells you the developers intended naval play to matter rather than serve as decoration. Community gameplay footage backs this up: fleets that move between firing windows survive far longer than fleets that park in one spot.
Here is what naval command actually gives you compared to other strike options: a repositionable launch platform rather than a fixed origin point. A missile silo commits to one firing solution the moment you build it, and a jet burns its entire sortie window on a single pass before returning to reload. A warship does neither — it sails to a new broadside angle, keeps firing through the reposition, and forces defenders to re-track a moving target instead of a known coordinate. That mobility is why fleets cycling between firing windows outlast parked fleets, and why the table below ranks warships as sustained pressure rather than burst damage.
| Strike Method | Strength | Weakness | Best Use |
|---|---|---|---|
| Warship broadside | Sustained pressure, repositionable | Slow travel, visible on water | Coastal bases and island sieges |
| Jet air strike | Fast, hard to track | Short window, fragile | Finishing wounded targets |
| Missile launch | Long range, high damage | Interceptable, static origin | Deep inland targets |
| Nuke | Massive area damage | Long cooldown, expensive | Decapitation strikes |
The takeaway is simple: warships are your sustained-pressure tool, not your finisher. Use them to keep an enemy reacting while your heavier options reload. Treat a broadside like a metronome rather than a knockout punch — while your missile silo cycles its cooldown and your jet waits on its sortie timer, the warship is still lobbing shells, pinning defenders to the coastline and denying them the breathing room to rebuild turrets or reposition interceptors. That constant chip damage also baits wasteful replies: opponents burn missile intercepts on cheap naval shells, leaving their inland grids exposed when your real strike finally lands.
Understanding the Naval Command Basics
Before you worry about advanced tactics, get the fundamentals right. A warship only fires effectively when it has a clear line to the target, which means positioning matters more than raw damage. Sail parallel to the coastline rather than straight at it, because a perpendicular approach exposes your hull to every shore battery on the island.
Watch your engagement distance carefully. Too close and defensive turrets shred you; too far and your shots scatter or fail to register. Community players report that the sweet spot sits just outside the range where anti-air and coastal guns start locking on, so spend your first few sorties testing that boundary rather than charging in.
Finally, treat your warship as a resource with a replacement cost. Losing a hull to a careless push costs you both the build time and the map pressure you had accumulated. Before committing to any engagement, weigh the trade: a single destroyer sunk to a coastal battery you misjudged sets back your naval production queue by several minutes, during which the enemy freely repositions their fleet and reclaims contested water. Veterans therefore pull damaged hulls back to friendly ports for repair rather than chasing one more kill — a repaired ship returns to the line at full strength, while a sunk one returns nothing but a fresh build timer. Track your fleet count against the enemy's before every push; if you cannot absorb the loss of the ship you are about to expose, you cannot afford the push at all.
Positioning Your Fleet for Effective Naval Strikes
Positioning is where most naval commanders lose fights before a single shell lands. The water around every island has approach lanes, and the enemy can see you coming from a long way out. Your job is to make that warning useless by arriving from an angle their defenses do not cover.
Think in terms of three zones, because your warship's guns, armor, and AA all behave differently depending on how close you push toward the island: the outer ring is your scouting lane where no firing solution exists yet, the firing band is the sweet spot where your main battery connects while coastal defenses struggle to track a moving hull, and the kill zone is the overlap where shore batteries and anti-air shred anything that lingers. Reading which zone you occupy at any moment — and knowing your ship's optimal engagement range before you commit — is the difference between a clean strike and feeding your fleet to the enemy's reload cycle.
-
Outer ring — safe travel lane, no firing solution, use it to circle and scout
-
Firing band — the range where your guns connect and their coastal defenses struggle to track you
-
Kill zone — close water where shore batteries and anti-air overlap, avoid unless you are finishing a crippled target
Most successful naval pushes follow a pattern: circle in the outer ring to bait defensive fire, slip into the firing band while the enemy reloads, unload a full salvo, then retreat before their response lands. That rhythm beats a straight-line charge every time.
Reading the Coastline Before You Commit
Spend thirty seconds studying the island before you sail in. Look for cliff overhangs that block line of sight, narrow channels that funnel your ship into predictable paths, and any visible defensive structures clustered on one side. If the defenses lean heavily toward one approach, hit the opposite flank and force them to rotate.
This scouting habit is the single biggest difference between a navy that trades evenly and one that dominates. According to community gameplay reports, players who scout before engaging lose noticeably fewer hulls per sortie. The reason is mechanical: once your warship's main battery opens fire, you commit to a reload cycle that leaves you unable to reposition or disengage, so every engagement you start blind is a coin flip on whether enemy torpedo boats or a hidden coastal battery already have your firing lane zeroed. A single scout pass with a fast recon craft or a radar ping from a screening destroyer reveals the enemy's actual hull count and facing before you spend that first salvo — turning a blind lunge into a calculated strike where your guns are already trained on the weaker flank.
Pairing Warships With the Air Force for Combined Strikes
The real power spike comes from combining your navy with the air force. A warship alone is a predictable threat; a warship covered by jets is a problem the enemy cannot solve with one defensive answer. The air strikes breakdown explains how jets and naval fire layer together, and the principle is straightforward: naval pressure forces the enemy to commit anti-ship defenses, which opens gaps for aircraft.
Timing is everything here. Send jets in first to draw anti-air fire, then bring your warship into the firing band while the enemy's interceptors are busy. Alternatively, open with a naval salvo to pull defenders toward the coast, then run an air strike on the now-exposed interior.
| Combined Tactic | Sequence | Why It Works |
|---|---|---|
| Bait and bombard | Jets first, warship second | Anti-air commits, naval guns fire free |
| Split attention | Warship first, jets second | Defenders rotate to coast, interior opens |
| Pincer | Simultaneous air and sea | Overwhelms a single defensive layer |
| Suppression | Continuous naval fire, jets on standby | Keeps enemy pinned for a follow-up |
If you are still learning the jet controls, the jet flying guide covers takeoff, targeting, and safe disengagement so your aircraft survive long enough to matter. Treat that guide as a prerequisite before attempting the sequences in the table above: a botched takeoff or a missed disengage window wastes the aircraft you were counting on to bait anti-air fire, collapsing the whole combined strike. Practice the jet's approach-and-exit loop solo first, then slot it into the bait-and-bombard or pincer timing once your disengagement is reliable.
Coordinating Strike Windows
A strike window is the short period when your weapons can hit and theirs cannot answer. Create windows deliberately rather than waiting for them. Launch a decoy missile to trigger enemy interception, then hit the reload gap with naval fire. Stack two windows back to back and most islands fold.
Choosing the Right Weapons for Your Navy
Not every hull and loadout deserves a slot in your fleet. The best weapons for naval work share three traits: reliable damage at medium range, reasonable reload speed, and enough durability to survive one mistake. Anything that sacrifices all three for a single big hit belongs in a different role.
Rank your naval options by what they actually deliver: raw damage per salvo, time-on-target before the reload cycle, and how many hits the hull absorbs before sinking. A heavy hull's burst salvo looks impressive on paper, but its slow speed turns it into a stationary target for torpedo spreads and dive-bomber runs — meaning its real damage output often falls below a standard warship that keeps firing through an entire engagement. The fast raider's low per-shot damage is offset by mobility that lets it reposition after every strike, while a support escort multiplies a squadron's effectiveness only when it stays behind the front line.
| Naval Option | Damage Profile | Survivability | Verdict |
|---|---|---|---|
| Standard warship | Consistent medium damage | Solid | Core of any fleet |
| Heavy hull | High burst salvo | Slow, easy to hit | Siege specialist |
| Fast raider | Low per-shot damage | High mobility | Harassment and scouting |
| Support escort | Minimal direct damage | Fragile alone | Force multiplier in groups |
The strongest weapons in a naval context are rarely the biggest ones. A fast raider that survives three engagements outdamages a heavy hull that dies in one. Build your fleet around two standard warships and one specialist, then expand once you understand your own playstyle.
Loadout Adjustments by Target Type
Against a fortified island, favor burst damage and hit-and-run patterns. Against a mobile or aggressive opponent, favor mobility and sustained fire so you can chase and pressure. Against a passive builder, bring siege hulls and simply out-range their defenses. Adjusting loadout to the target is a habit that separates intermediate commanders from beginners.
Managing Risk and Replacement Costs
Every warship you lose is time you cannot get back, so risk management is a genuine skill. Set a personal rule: never enter the kill zone unless the target is already crippled or you have air cover. That single rule prevents most avoidable losses.
Track your fleet the way you track any other investment. If a sortie costs you a hull and produces no structural damage on the enemy, that sortie was a loss regardless of how good the shooting felt. Review each engagement and ask whether the damage traded was worth the exposure.
Defensive layering matters too. The island defense guide explains how shields and anti-air protect a base, and understanding those systems from the defender's side makes you much better at finding the gaps in someone else's setup.
When to Retreat
Retreat is a tactic, not a failure. Pull back when your hull drops below half health, when enemy aircraft appear without your own cover, or when the target has rotated fresh defenses toward your approach. A warship that survives to fight again next wave is worth more than a heroic last salvo.
Advanced Naval Tactics for Experienced Commanders
Once the basics feel automatic, layer in these habits. First, use terrain aggressively — islands, channels, and shallow water all break line of sight and let you approach unseen. Second, stagger your fleet so one ship always sits in the firing band while another repositions. Third, keep a reserve hull ready so a lost engagement does not end your naval presence entirely.
Experienced players also coordinate naval timing with missile launches. A warship salvo that lands at the same moment a missile arrives forces the defender to split interception, and split interception usually means one of the two gets through. The nuke launch guide covers the timing side of that coordination in more depth.
Finally, review your own replays or recordings — naval fights in World of Nukes unfold slowly enough that positioning errors become obvious in hindsight, and fixing one recurring mistake often doubles your effective damage output. Watch specifically for ships drifting outside the firing band, over-extending past island cover, or clumping into a single salvo line that lets enemy missiles trade one-for-one. Track which hulls you lose to the same cause twice; a repeat loss pattern usually points to a timing error rather than bad luck, and correcting it compounds across every future engagement.
Frequently Asked Questions
How do I command warships in World of Nukes?
Sail to the firing band just outside enemy defensive range, keep your hull parallel to the coast, and fire full salvos during the enemy's reload gap. Retreat before their response lands, then circle back for the next window rather than staying exposed.
What is the best fleet composition for naval strikes?
Two standard warships plus one specialist works for most players. Standard hulls provide consistent damage and survivability, while the specialist handles either siege burst or fast harassment. For example, a pair of destroyers screening a single siege hull lets the destroyers soak coastal battery fire while the specialist lands the burst damage on the target. Expand only after you consistently survive engagements without losing hulls — add a second specialist or a screening escort only once your current fleet reliably disengages at half health.
Should I use jets or warships first in a combined attack?
Send jets first to pull anti-air fire, then bring warships into the firing band while interceptors are occupied. Reversing the order also works if you want to draw defenders toward the coast and open the island's interior for an air strike.
How do I avoid losing warships to coastal defenses?
Never enter the kill zone unless the target is already crippled or you have air cover. Watch your engagement distance, use terrain to break line of sight, and pull back the moment your hull drops below half health instead of chasing one more salvo.
Are warships worth building compared to missiles?
Yes, because they reposition your launch platform rather than sitting static. A missile silo's coordinates are fixed the moment it's built, so defenders learn its arc and pre-position interceptors; a warship sailing the firing band can shift its launch point each pass, forcing coastal batteries to re-track and burning their reload window on a target that has already moved. Missiles reach further inland, but warships apply sustained pressure to coastal and island targets that static launchers struggle to hit, especially when defenses sit behind terrain that blocks a fixed missile trajectory but not a hull repositioned along the shoreline.
Naval command in World of Nukes rewards patience and positioning over raw aggression. Get your fleet into the firing band at the right moment, cover it with air power, and manage losses like the real cost they are — that combination turns a fragile navy into the weapon that decides island fights.