
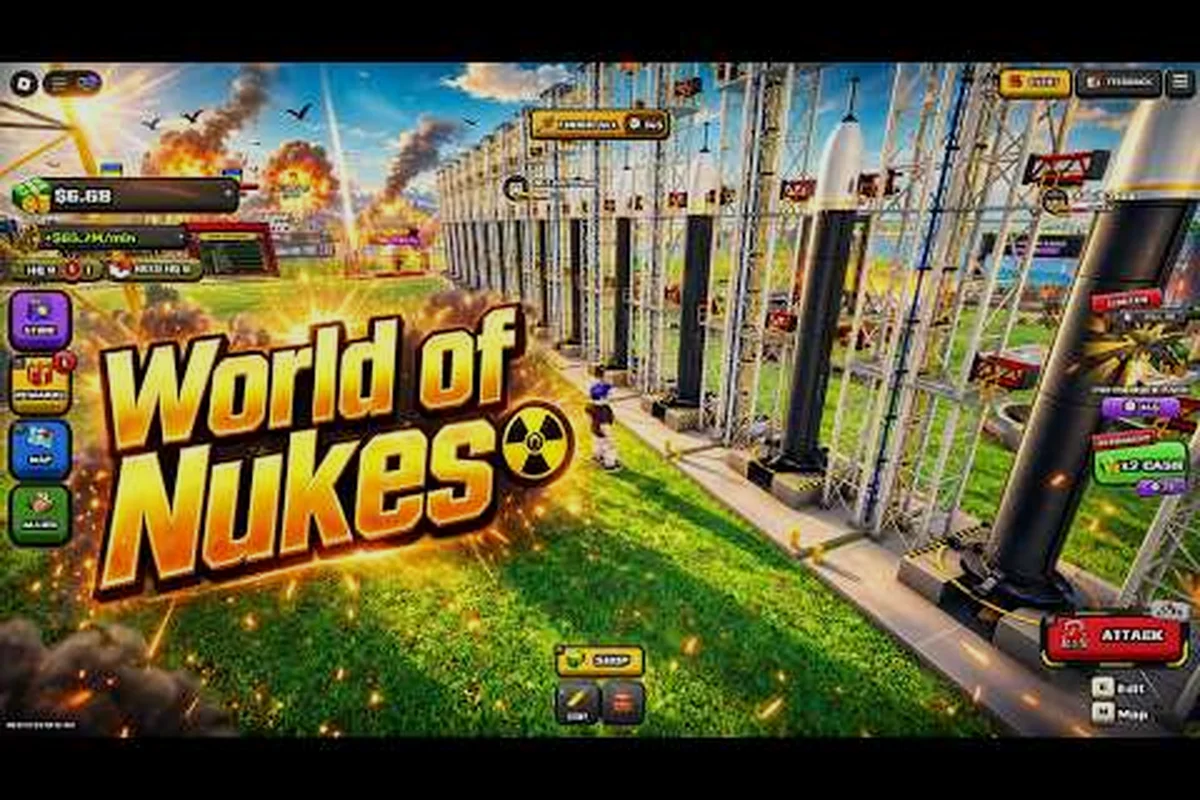
World of Nukes wonder rewards are the payoff that turns a mid-game tycoon into a genuine superpower, and the Doomsday Device sits at the very top of that ladder. If you have been building silos and watching your cash tick upward without a clear next step, this breakdown maps the landmark chain, the nuclear power requirements, and the endgame upgrades that follow.
What Wonder Rewards Actually Give You
Wonders in World of Nukes are late-game landmarks rather than simple decorations. According to the official World of Nukes page on Roblox, wonders exist as milestone structures on the road to superpower status, though the page publishes no hard numbers for their bonuses. That means the practical reward values below come from player testing and community reporting rather than an official stat sheet.
| Reward category | What it grants | When it pays off | Build-order priority | Verification status |
|---|---|---|---|---|
| Passive income multiplier | Percentage boost to every generator already placed | Scales with existing generator count — early placement pays back more than late | Schedule around reactor upgrades; multiplier-only wonders can wait | Player testing / community reporting |
| Unlock gate | Makes later structures purchasable, including Doomsday Device chain steps | Only after the gated structure is actually placed | Mandatory — treat any gate-tied wonder as non-optional | Player testing / community reporting |
| Nuclear power capacity boost | Extra reactor headroom for heavier endgame buildings | Needed before endgame buildings will run at all | Fix the bottleneck before chasing multipliers | Player testing / community reporting |
| Cosmetic / prestige marker | Visible progress signal to other players on the server | No mechanical effect on income or unlocks | Lowest priority — never displace a gate wonder | Player testing / community reporting |
| Doomsday Device chain step | Feeds the final Doomsday Device unlock | Stalls entirely if a mid-tier wonder is skipped | Top priority — chain completion over raw stats | Player testing / community reporting |
The core idea is straightforward: each wonder you complete feeds a permanent multiplier or unlock into your base, and those bonuses stack toward the Doomsday Device. Treat wonders as compounding investments instead of one-off purchases, because a single wonder rarely changes your run on its own.
Here is how the reward categories break down in practice, and the order matters more than the individual numbers: passive income multipliers scale off generators you already own, so a wonder finished early in a run pays back far more than the same wonder built after your reactor network is capped. Unlock gates behave differently — they grant nothing until you actually place the structure they gate, which is why the Doomsday Device chain stalls if you skip a mid-tier wonder. Nuclear power capacity boosts are the quiet bottleneck fixer, since heavier endgame buildings will not run without reactor headroom.
-
Passive income multipliers that raise the output of every generator you already own.
-
Unlock gates that make later structures purchasable at all, including the Doomsday Device itself.
-
Nuclear power capacity boosts that let your reactor network support heavier endgame buildings.
-
Cosmetic and prestige markers that signal your progress to other players on the server.
The important takeaway is that wonder rewards are prerequisites first and stat boosts second. You are not buying a wonder for its bonus alone; you are buying the right to build the next tier of your base. That distinction reshapes your build order: a mid-tier wonder whose passive multiplier looks weak on paper can still be the correct pick if it unlocks the structure that feeds your Doomsday Device chain, while a high-multiplier wonder with no gate attached can safely wait until your generator network is dense enough to make the percentage pay off. In practice, treat any wonder tied to an unlock gate as mandatory and schedule multiplier-only wonders around your reactor upgrades, so you never spend resources on a bonus that a stalled Doomsday Device chain cannot use.
Why the Order Matters More Than the Bonus
Players who rush the biggest wonder they can afford often stall, because the reward chain expects a specific sequence. Building out of order leaves you with a landmark that grants a bonus your base cannot yet use, while the cheaper wonder that would have unlocked the next tier sits unbuilt. Community reports consistently describe the wonder path as sequential, so plan your purchases in the order the game presents them rather than chasing the flashiest structure first.
The Landmark Chain That Leads to the Doomsday Device
The Doomsday Device is not a standalone purchase. It is the final node in a chain of wonders, and each earlier landmark contributes a piece of the requirement. The table below summarizes how the chain is typically described by players, with the caveat that exact costs shift between updates.
| Wonder Tier | Primary Reward | Role in the Chain |
|---|---|---|
| Early wonder | Small passive income boost | Establishes your first multiplier |
| Mid wonder | Nuclear power capacity increase | Lets reactors support heavier loads |
| Advanced wonder | Unlock gate for late structures | Opens the path toward the Doomsday Device |
| Final wonder | Doomsday Device access | Enables the endgame build itself |
Because the official description confirms wonders exist but publishes no numbers, treat the tier names above as a framework rather than a fixed shopping list. The reliable part is the structure of the chain: income first, power capacity second, unlock gates third, and the Doomsday Device last.
Reading the Unlock Prompts Correctly
When a wonder becomes available, the game surfaces an unlock prompt tied to that specific landmark. Read the prompt text carefully, because it usually names the exact structure or resource you need next. Players who skip the prompt and guess often waste cash on the wrong building. A quick habit that saves hours: before buying anything expensive, check whether the prompt mentions nuclear power output or a specific wonder name, since those two signals tell you which branch of the chain you are actually on.
How Nuclear Power Feeds the Endgame
Nuclear power is the resource that separates a functional base from a stalled one. Every heavy structure in the late game draws on your reactor network, and the Doomsday Device is the heaviest draw of all. If your power grid cannot sustain the load, the device will not run at full capacity even after you unlock it.
The relationship works like this: your reactor network sets the power ceiling, and every wonder reward you chase — including the Doomsday Device unlock path — competes for that same ceiling. Reactors generate power scaling with upgrade level, while wonders raise your capacity ceiling so you can add more reactors without hitting a cap. The Doomsday Device then consumes a large share of that capacity, meaning an underbuilt grid throttles the device's output even after you unlock it. In practice, a player who pushes wonder rewards before upgrading reactors often finds the Doomsday Device running below full capacity, forcing a second power rebuild.
-
Reactors generate power that scales with their upgrade level.
-
Wonders raise your capacity ceiling, letting you add more reactors without hitting a cap.
-
The Doomsday Device consumes a large share of that capacity, so underbuilt grids throttle it.
Community testing suggests that players who neglect reactor upgrades before chasing wonders end up rebuilding their power section twice. The fix is to treat nuclear power as a parallel track to wonder construction, not a step you finish first and forget.
Balancing Reactors Against Wonder Spending
Cash is finite, and every dollar spent on a wonder is a dollar not spent on reactors. A practical split that players report working well is to keep roughly a third of your income flowing into power infrastructure while the rest goes toward wonder progress. That ratio keeps your grid ahead of your ambitions without stalling the chain entirely. If you find yourself constantly short on power, pause wonder purchases for a few minutes and dump income into reactor upgrades until the bottleneck clears.
The broader economy side of this balancing act is covered in the endgame cash strategy breakdown, which explains how to keep income high enough to fund both tracks at once.
Unlocking the Doomsday Device Step by Step
The Doomsday Device unlock is the moment most players are actually working toward, so it deserves a clear sequence. The steps below reflect the general flow reported by players, and the exact costs may vary by version. Treat the order as a dependency chain rather than a checklist: each earlier wonder you finish feeds its reward into the next tier, and skipping ahead only stalls the chain because the device stays hidden until every prerequisite landmark is registered. Budget your nuclear power capacity and cash reserves before you start the final purchase, since the Doomsday Device draws a heavy late-game load that a mid-tier reactor network cannot absorb without throttling your other wonders.
-
Complete every earlier wonder in the chain. The device will not appear as purchasable until the preceding landmarks are finished.
-
Raise nuclear power capacity to the late-game ceiling. Check that your reactor network can absorb a large new load before you buy.
-
Bank enough cash to cover the device plus a buffer. Running out mid-purchase wastes the setup you built.
-
Confirm the unlock prompt names the Doomsday Device. If it names a different structure, you are still one step behind.
-
Build the device and verify it draws power correctly. A quick check now prevents a silent throttle later.
The unlock order interacts directly with the nuke systems you have already built, and the nuke unlock order and mechanics guide explains how the device fits alongside your existing arsenal. Practically, this means the Doomsday Device should be treated as the final node in your wonder reward tree rather than a standalone purchase: its reward payout only scales once the earlier wonder bonuses are already feeding your economy, so buying it early leaves you with a high-draw structure and no matching income to sustain it. If the unlock prompt fires but your reactor network is still mid-tier, hold the purchase and finish the remaining prerequisites first, since the device's power draw will otherwise throttle the very wonders whose rewards you need to fund it.
Common Mistakes During the Unlock
The most frequent failure is buying the Doomsday Device before the power grid can support it, which produces a device that technically exists but underperforms. The second most common is skipping a mid-tier wonder because it looks unglamorous, which quietly blocks the unlock gate. Both mistakes share a root cause: treating the device as a purchase instead of a culmination. Slow down, confirm each prerequisite, and the unlock goes smoothly.
What the Doomsday Device Rewards Change
Once the Doomsday Device is running, the rewards it grants reshape how you play the endgame. The most significant changes fall into three buckets: offensive output, prestige standing, and progression access. Each one compounds on the others — higher strike capability lets you defend the territory your new upgrade tier unlocks, while prestige standing affects how rival alliances treat you during wonder contests.
| Reward Category | Effect on Your Base | Practical Use |
|---|---|---|
| Offensive output | Raises the ceiling on your strike capability | Stronger late-game pressure |
| Prestige standing | Marks you as a top-tier base | Social and server status |
| Progression access | Opens the final upgrade tier | Continued growth after unlock |
The offensive side is the headline, but the progression access matters just as much for long-term play. Without the device, the final upgrade tier stays locked, which means your base hits a hard ceiling no matter how much cash you generate. Players who unlock the device early relative to their server often pull ahead simply because they can keep upgrading while others are still saving.
Pairing the Device With Your Nuke Loadout
The Doomsday Device does not replace your existing nukes; it amplifies the strategy around them. Choosing which warheads to pair with the device is its own decision tree, and the nuke launch guide walks through the targeting and timing considerations that matter most once your output ceiling rises. The short version is that a stronger device rewards precise strikes over spam, because each launch now carries more weight.
Endgame Upgrades After the Unlock
Unlocking the Doomsday Device is not the finish line — it's the gateway to a second progression layer that determines how smoothly your endgame runs. The Doomsday Device's upgrade track splits into four branches (power efficiency, income scaling, defensive, and utility), and each one interacts differently with your existing wonder rewards. Power efficiency upgrades, for example, shrink the device's grid draw so your nuclear power plants can feed other structures instead of propping up the wonder alone, while income scaling upgrades multiply against the same wonder reward bonuses you stacked earlier, compounding your cash flow rather than adding a flat trickle. Knowing which branch to feed first — and why — is what keeps your momentum going instead of stalling out the moment the unlock animation ends.
-
Power efficiency upgrades reduce how much capacity the device drains, freeing room for other structures.
-
Income scaling upgrades compound with your wonder multipliers for faster cash generation.
-
Defensive upgrades protect the investment you just made from raids and rival players.
-
Utility unlocks add quality-of-life tools that speed up routine base management.
The sequencing advice here mirrors the wonder chain: efficiency before raw power. A device that runs cheaply lets you reinvest in everything else, while a device that eats your entire grid forces constant rebuilding. Players who prioritize efficiency upgrades report a smoother endgame than those who chase maximum output immediately.
When to Stop Upgrading and Consolidate
At some point, additional upgrades deliver diminishing returns relative to their cost. A useful rule of thumb is to consolidate whenever a new upgrade would consume more than half your current cash reserves, because that leaves you unable to respond to a raid or an unexpected opportunity. Consolidation phases are also when you should revisit your wonder bonuses and confirm they are all active, since a missed multiplier quietly costs you income every minute.
Frequently Asked Questions
What are World of Nukes wonder rewards?
Wonder rewards are the permanent bonuses and unlock gates you receive for completing late-game landmark structures. They include passive income multipliers, nuclear power capacity boosts, and access to higher building tiers. The final wonder in the chain unlocks the Doomsday Device, which is the top of the progression ladder.
How do I unlock the Doomsday Device?
You need to complete every earlier wonder in the chain, raise your nuclear power capacity to the late-game ceiling, and bank enough cash for the purchase plus a buffer. The device only appears as purchasable once the preceding landmarks are finished, so check your unlock prompt before spending.
Does the Doomsday Device need nuclear power to run?
Yes. The device draws heavily on your reactor network, and an underbuilt grid will throttle its output even after you own it. Players who upgrade reactors alongside wonders report far fewer problems than those who chase the device with a weak power section.
What should I upgrade first after unlocking the device?
Prioritize power efficiency upgrades, because they reduce the device's drain and free capacity for other structures. After that, move to income scaling and defensive upgrades. Efficiency first keeps your base flexible, while raw output first tends to force constant rebuilding.
Is the wonder chain the same for every player?
The structure of the chain is consistent, but exact costs and bonus values shift between updates. The official game page confirms wonders exist without publishing numbers, so rely on in-game prompts and current community reports rather than older guides when planning purchases.
Final Word on the Wonder Path
The World of Nukes wonder rewards system rewards patience and sequencing over raw spending. Complete the landmark chain in order, keep nuclear power ahead of your ambitions, and treat the Doomsday Device as the culmination of a plan rather than a shortcut. Once it is running, shift your focus to efficiency upgrades so the endgame stays sustainable instead of becoming a constant rebuild. Players who follow that rhythm consistently reach the top tier faster than those who chase the biggest structure first.