
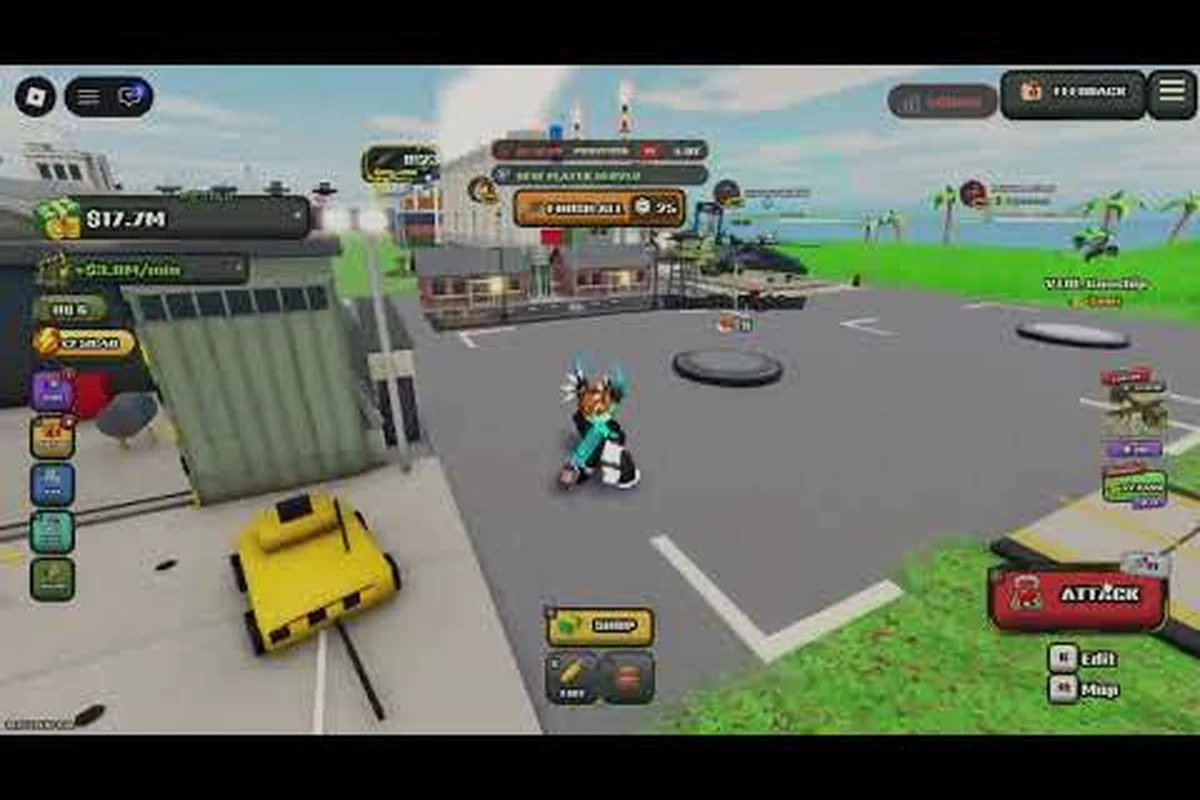
The World of Nukes best defense is not a single building or a bigger shield — it is a coverage math problem, where anti-air interception and shield absorption each cover a different threat. If your island keeps collapsing to a missile you never saw coming, the fix is usually a number, not a grind.
This breakdown treats defense as a budget: how many interceptors you can keep in the air, how much shield uptime you can afford, and which incoming attacks deserve which answer. Get the split right and your superpower keeps growing through attacks instead of rebuilding after them.
For a fuller breakdown of the game's mechanics and defensive strategies, players can consult the official World of Nukes Roblox page, which documents the core systems referenced throughout this guide.
Why Coverage Beats Raw Shield Strength
Most islands fall because players over-invest in one layer and leave the other layer empty. The official game page describes defense as two separate systems — anti-air, which intercepts incoming missiles and aircraft, and shields, which protect the island from enemy nukes — and that split is the whole design. A thick shield with no interception still eats every conventional missile volley, while a dense anti-air net with no shield folds the moment a nuke lands.
Think of it as two doors with different hinges. Anti-air is the fast door: it intercepts incoming missiles and aircraft before they reach the island, which is why it answers conventional volleys and aircraft raids in the table below. Shields are the slow door: they absorb the nuke itself, the one hit anti-air cannot reliably catch. A player who maxes shield upgrades but skips anti-air missiles still bleeds to every cheap missile volley; a player who stacks interceptors but never invests in shield coverage loses the island to a single warhead. Neither layer substitutes for the other — coverage is what wins.
| Threat Type | Best Answer | Why It Fails the Other Layer |
|---|---|---|
| Conventional missile volleys | Anti-air interception | Shields absorb but do not stop volume pressure |
| Aircraft raids | Anti-air interception | Shields do not engage air units |
| Enemy nukes | Shield absorption | Anti-air cannot reliably catch a nuke |
| Mixed saturation attacks | Both, staggered | Single-layer builds collapse on the second wave |
| Long-range chip damage | Shield uptime | Interceptors waste ammo on low-value targets |
The practical takeaway: before you upgrade anything, count how many attacks you lost last session and what type they were. If most losses were missiles and jets, your anti-air is underbuilt. If most losses were nukes, your shield coverage is the hole. That single audit is worth more than any tier list.
Community strategy notes echo the same conclusion — a superpower survives by balancing the two systems rather than maxing one, because attackers probe for whichever layer is thinner. The moment your island looks lopsided, it becomes a target. Watch the replay of any lost island and you will usually find the same pattern: the attacker's first wave is a cheap conventional missile volley sent purely to map your anti-air coverage, and the second wave is the nuke aimed at the gap that volley exposed. That scouting logic is why a 70/30 split in either direction loses to a 50/50 build — a shield-heavy island invites the probe, and an anti-air-heavy island hands the attacker a free nuke lane. Keep both layers within one upgrade tier of each other and no single wave can end you.
Building the Anti-Air Layer Around Real Numbers
The World of Nukes anti air missiles are your first line and your cheapest line. Interceptors are only useful if they are positioned to actually reach the incoming path, so placement matters more than raw count. A cluster of launchers on one coast leaves three other approaches wide open, and attackers will find the gap within a few raids.
How to Use Anti-Air Without Wasting It
The core rule for how to use anti air is target discipline: let interceptors engage missiles and aircraft, and never let them burn ammo on targets your shield would absorb anyway. Interceptors that fire on everything run dry exactly when the real wave arrives.
-
Cover every approach, not every building — overlapping arcs beat stacked launchers.
-
Keep a reserve — hold back a portion of your interception capacity for the second wave.
-
Stagger launcher positions — spread them so one lucky strike cannot silence your whole net.
-
Watch the reload rhythm — a net that fires everything at once has a dead window right after.
| Anti-Air Setup | Coverage | Ammo Efficiency | Best For |
|---|---|---|---|
| Single clustered battery | Low | Poor | Early game, one approach |
| Ring around the island | High | Good | Standard mid-game defense |
| Staggered dual rings | Very high | Excellent | Surviving saturation attacks |
| Forward picket line only | Medium | Fair | Players who scout attackers |
A ring layout with staggered reload timing is the safest default because it keeps at least one launcher live at all times. If you want a deeper walkthrough of launcher placement and unlock order, the anti-air and shield guide covers the building-by-building sequence in more detail.
Shield Upgrades: Where the Money Actually Goes
Shield upgrades are the most misunderstood spend in the game. Players buy the biggest shield they can afford and then wonder why a coordinated attack still lands. The reason is uptime: a shield that is down when the nuke arrives is worth nothing, no matter how strong its absorption value is.
How to Use Shields as a Timing Tool
The right way to think about how to use shields is as a reaction window, not a wall. You want the shield ready when a nuke is inbound, which means knowing the warning signs — launch indicators, attacker positioning, and the pattern of the raid so far. A shield raised early and dropped late is wasted capacity; a shield raised at the right second is a full save.
| Shield Upgrade Path | Absorption | Uptime Cost | Recommendation |
|---|---|---|---|
| Base shield, no upgrades | Low | Cheap | Placeholder only |
| Mid-tier absorption | Medium | Moderate | Solid all-round choice |
| Max absorption, slow recharge | High | Expensive | Pair with anti-air reserve |
| Balanced tier with fast recharge | Medium-high | Efficient | Best value for most islands |
For most players, the balanced tier wins on value because it lets you raise the shield twice in a long fight instead of once. Max absorption looks impressive on paper but leaves you helpless during recharge, which is exactly when a smart attacker sends the second nuke.
If you are still deciding which upgrade order fits your island shape, the defense layout breakdown maps priority against building positions so you are not upgrading blind. It walks through how island geometry changes where your shield generator, anti-air missiles, and resource buildings should sit relative to each other, so a balanced-tier shield with fast recharge can cover the lanes attackers actually use rather than soaking hits on a side nobody pushes. Cross-check your shield tier against that layout before committing resources, because a max-absorption shield placed on the wrong flank still leaves your anti-air reserve exposed during its recharge window.
A Defense Strategy That Survives Saturation Attacks
A World of Nukes defense strategy has to assume the attacker is not sending one thing. Saturation attacks — a missile volley to drain interception, followed by a nuke to finish — are the standard kill pattern, and they beat any single-layer build regardless of how much you spent.
The counter is sequencing. Let anti-air handle the opening volley while the shield stays cold, then raise the shield only when the nuke signature appears. That preserves shield uptime for the hit that actually matters and forces the attacker to spend their most expensive weapon into a live shield.
-
Phase 1 — absorb the volley: anti-air engages missiles and aircraft, shield stays down.
-
Phase 2 — read the launch: watch for the nuke indicator and confirm it is not a decoy.
-
Phase 3 — raise the shield: time it so absorption covers the impact window, not the flight time.
-
Phase 4 — rebuild the net: re-arm interceptors immediately, because the third wave often follows fast.
| Attack Pattern | Layer That Answers It | Common Mistake |
|---|---|---|
| Missile volley first | Anti-air | Raising the shield too early |
| Nuke first, volley second | Shield, then anti-air | Spending interceptors on the nuke |
| Simultaneous mixed wave | Both, pre-staged | No reserve left for wave two |
| Repeated small raids | Anti-air economy | Over-upgrading shields instead |
Players who lose to saturation attacks almost always raised the shield on the first warning instead of the right one. Practicing the hold — waiting through the volley — is the single biggest skill jump available in defense. The reason is economic as much as tactical: every second the shield is up burns its limited active window, so raising it during Phase 1 leaves nothing in reserve when the nuke indicator actually appears. Run the same drill repeatedly against a scripted missile-then-nuke pattern and watch your shield timer rather than the sky; once you can consistently keep the shield cold through the entire opening volley, the Phase 3 absorption window lines up with impact instead of flight time, and the attacker's most expensive weapon lands into a live shield rather than an exhausted one.
Scaling Defense as Your Island Grows
Early-game defense is cheap because there is little to lose. Mid-game is where the World of Nukes best defense actually gets decided, because your island now has enough value to attract coordinated attackers while your income still limits how much you can build.
The scaling rule is simple: grow interception capacity before you grow shield strength. Anti-air is cheaper per point of coverage, and it protects the income that eventually pays for the shield. Islands that invert this order stall out, because every nuke loss wipes progress faster than the shield upgrade was worth.
| Island Stage | Anti-Air Priority | Shield Priority | Total Defense Share |
|---|---|---|---|
| Early | Ring of basic launchers | Base shield only | Low, keep growing |
| Mid | Staggered dual coverage | Balanced tier | Moderate, steady |
| Late | Full net plus reserve | Max or fast-recharge tier | High, but income-funded |
| Under active siege | Reserve first | Uptime over absorption | Temporary spike |
Defending your island also means defending your growth curve. Every resource spent on defense is a resource not spent on expansion, so the goal is the minimum defense that survives the attacks you actually receive — not the maximum defense you can theoretically build. Players who over-build defense early end up too poor to matter, and players who under-build lose everything in one night.
The island defense guide goes deeper on protecting specific island shapes and the trade-offs between coastal and interior coverage. As a rule of thumb, treat anti-air as your first scaling lever and shields as your second: adding a staggered dual-coverage launcher ring in the mid game costs far less per point of intercepted damage than pushing a shield to its next tier, and it keeps your economy alive long enough to fund that upgrade later. Only once your launcher net reliably catches incoming nukes should you sink resources into max or fast-recharge shield tiers, since a shield absorbing hits it never had to take is wasted income.
Common Defense Mistakes and How to Fix Them
Most defense failures repeat across sessions, which makes them easy to audit. Run through this list after any lost island and you will usually find two or three of them at once. The reason is structural: an attacker only needs one gap, while your shield upgrades and anti air missiles must hold every approach simultaneously, so a single weak lane undoes a dozen solid ones. Keep a short post-loss log — attack type, entry angle, which launcher fired first — and patterns surface within two or three raids, turning guesswork into a fix list.
-
One-layer investment: all shield or all anti-air. Fix by splitting the budget roughly in proportion to the attacks you actually face.
-
Clustered launchers: one strike silences the net. Fix by staggering positions and reload timing.
-
Shield raised on first warning: wasted uptime. Fix by waiting for the nuke signature.
-
No reserve: the second wave walks in. Fix by holding back a portion of interception capacity.
-
Upgrading by price instead of coverage: expensive buildings that cover nothing. Fix by measuring coverage per approach.
-
Ignoring the audit: guessing what killed you. Fix by logging attack types for one session.
The official game page is the cleanest reference for what each system is designed to do, and the community footage of defense experiments shows how quickly a lopsided build collapses once an attacker finds the thin side. Neither source will hand you a build order, but together they confirm the balance principle this whole guide rests on.
Frequently Asked Questions
What is the World of Nukes best defense overall?
There is no single best building — the strongest setup pairs a staggered anti-air ring with a balanced-tier shield that has fast recharge. Anti-air answers missiles and aircraft, the shield absorbs nukes, and the split between them should follow the attack types you actually face rather than a fixed ratio.
How many anti-air launchers do I need to cover my island?
Enough to cover every approach with overlapping arcs plus a reserve for the second wave. A single clustered battery leaves gaps attackers exploit within one or two raids, while a staggered ring keeps at least one launcher live at all times and survives saturation attempts far better.
Should I upgrade shields or anti-air first?
Grow interception capacity first, then shield strength. Anti-air is cheaper per point of coverage and protects the income that eventually funds shield upgrades. Islands that max shields before building a net tend to stall, because every nuke loss wipes progress faster than the upgrade was worth.
How do I stop a nuke if my shield is recharging?
You mostly cannot, which is why uptime matters more than absorption. Hold the shield until the nuke signature appears instead of raising it on the first warning, and keep anti-air focused on the missile volley so the shield is cold and ready when the real hit comes.
Does defending my island slow down my growth too much?
Only if you over-build. The right target is the minimum defense that survives the attacks you actually receive, scaled up as your island gains value. Spending everything on defense early leaves you too poor to compete, while spending nothing loses the island in a single night.